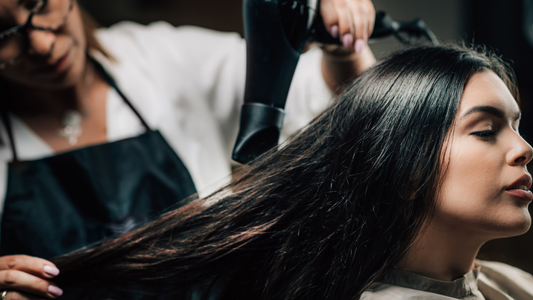
Dreaming of sleek, smooth locks without stepping into a salon? It's time to turn that dream into reality with Kera Mane's at-home keratin treatment. Follow our step-by-step guide and get ready to flaunt salon-quality straight hair, all from the comfort of your own home.
Preparation Phase: The Foundation of Flawless Hair
Begin your journey to silky hair with our clarifying shampoo. This initial step is non-negotiable for the treatment's success, ensuring that your hair is free from any impurities that could hinder the keratin's magic.
Application Phase: The Heart of Transformation
With hair 80% dry, section it and meticulously apply the Kera Mane Keratin Straightening Treatment. Remember, a little goes a long way with our potent formula. Patience during the wait time will set the stage for stunning results.
Drying: The Art of Perfection
After the treatment has settled, it's time to dry. Use a round brush to achieve a smooth finish. This step is not just about drying; it's about starting to shape your hair into that sleek look you desire.
Sealing: The Final Touch
Now, seal in the treatment with your flat iron. This crucial step locks in the keratin, ensuring your hair's transformation is complete. Remember to adjust the heat setting to suit your hair type for optimal results.
Mask Application: The Seal of Luxury
Two days later, it's time for the Kera Mane MAX Repair hair mask. This is where you reinforce the treatment and give your hair that extra dose of nourishment. The result? Hair that's not just straight, but also deeply conditioned and radiant.
Ready to embrace the ease of straightening your hair at home? Subscribe to our newsletter for more hair care secrets!


