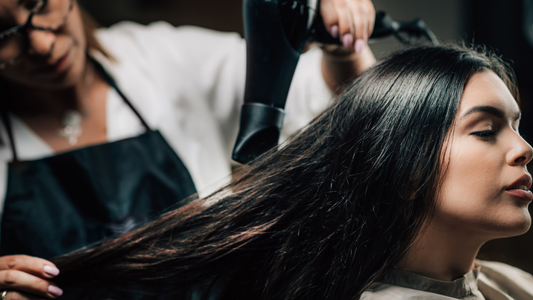
Applying a keratin treatment at home can seem daunting, but with the right guidance and steps, you can achieve salon-quality results in the comfort of your own home. Kera Mane Keratin Hair Treatment offers a user-friendly, effective solution for those looking to smooth and enhance their hair's natural beauty without the need for professional services. This detailed guide will walk you through the basic steps of applying a home keratin treatment, focusing on the crucial stages of using a clarifying shampoo, applying the treatment, and following up with a nourishing hair mask.
Step 1: Preparation with Clarifying Shampoo
- Purpose: The first and crucial step is to thoroughly cleanse your hair with a clarifying shampoo. This type of shampoo is designed to strip your hair of residues and impurities, including oils, styling products, and environmental pollutants, which can affect the treatment's effectiveness.
- Application: Wet your hair thoroughly. Apply a generous amount of clarifying shampoo and massage it into your scalp and through the lengths of your hair. Rinse thoroughly. Depending on the product build-up, you might need to repeat this process to ensure your hair is completely clean.
Step 2: Applying the Keratin Treatment
- Drying Your Hair: After shampooing, dry your hair completely with a blow dryer. For the best results, your hair should be 100% dry before applying the keratin treatment.
- Sectioning Your Hair: Divide your hair into manageable sections. This will make the application easier and ensure that the treatment is evenly distributed. Use clips to help keep sections separate.
- Application of the Treatment: Starting at the nape of your neck, apply the Kera Mane Keratin Treatment section by section. Use a tint brush for precise application, applying the treatment from roots to ends, but avoid saturating the scalp. Comb through each section with a fine-tooth comb to distribute the product evenly.
- Processing Time: Allow the treatment to absorb into your hair for the time specified in the product instructions, typically around 20-30 minutes. Do not rinse out the treatment.
Step 3: Sealing the Treatment with Heat
- Blow Drying: Once the processing time is complete, blow dry your hair completely. Use a medium to high setting to ensure your hair is thoroughly dry.
- Flat Ironing: Use a flat iron set to the recommended temperature (usually between 350°F and 450°F, depending on hair type and condition). Iron small sections of your hair, from roots to ends, to seal in the keratin. Typically, each section should be ironed 5-7 times. Be cautious with the temperature and frequency of passes to prevent heat damage.
Step 4: Applying a Nourishing Hair Mask
- Purpose: After the heat treatment, it's beneficial to apply a nourishing hair mask. This helps to hydrate and repair the hair, locking in the benefits of the keratin treatment.
- Application: Apply a generous amount of a keratin-friendly hair mask. Distribute it evenly throughout your hair, focusing on the ends where damage is most common. Leave the mask on for the recommended time, usually 10-20 minutes.
- Rinsing: Rinse the mask out thoroughly with warm (not hot) water.
Aftercare Tips
- Avoid Washing: Avoid washing your hair for 48 hours after the treatment to allow the keratin to fully set.
- Maintenance: Use sulfate-free and sodium chloride-free shampoos and conditioners to maintain the results of your keratin treatment. These products will help extend the life of your smooth, frizz-free hair.
Conclusion
Applying a keratin treatment at home, like Kera Mane Keratin Hair Treatment, can transform your hair, making it smoother, stronger, and more manageable. By following these essential steps and maintaining good aftercare practices, you can enjoy the long-lasting benefits of your keratin treatment. With this beginner-friendly guide, you're well on your way to achieving beautiful, salon-like hair at home.


