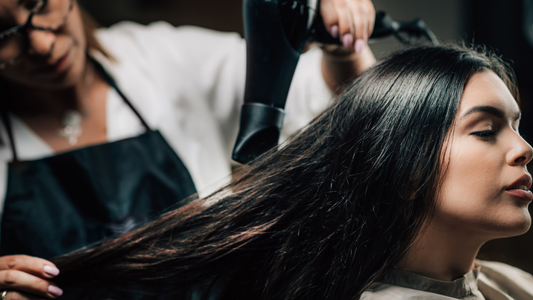
Achieving an even and effective application of a keratin treatment, such as the Kera Mane Keratin Hair Treatment, starts with properly sectioning your hair. This step is crucial for ensuring that the treatment is distributed evenly across all parts of your hair, maximizing the smoothness and effectiveness of the results. This detailed guide will provide you with step-by-step instructions on how to section your hair for a keratin treatment, ensuring you get salon-quality results at home.
Importance of Proper Sectioning
- Even Distribution: Proper sectioning ensures that every strand of hair gets an equal amount of treatment, which is essential for achieving uniform results.
- Ease of Application: Well-sectioned hair simplifies the application process, making it easier to manage and less time-consuming.
- Better Penetration: Sectioning helps in better saturation of the treatment across the hair's surface, which improves the penetration of keratin into the hair shaft.
Tools Needed for Sectioning
- Wide-tooth Comb: To detangle your hair before sectioning.
- Rat-tail Comb: For precise sectioning.
- Hair Clips: To hold sections in place during the application process.
Step-by-Step Guide to Sectioning Hair for Keratin Treatment
-
Start with Detangled, Dry Hair:
- Begin by combing your hair with a wide-tooth comb to remove any tangles and knots. Ensure your hair is completely dry as wet hair can complicate the sectioning process.
-
Create a Central Parting:
- Use a rat-tail comb to create a parting from the middle of your forehead to the nape of your neck. This divides your hair into two main sections, left and right.
-
Section the Hair Horizontally:
- From the central parting, create horizontal sub-sections about 1-2 inches thick. Start at the nape of the neck and work your way upwards. Use clips to secure each section.
- Ensure that each horizontal section is manageable and not too thick, which allows for more precise application of the keratin treatment.
-
Sub-sectioning for Application:
- When ready to apply the keratin treatment, unclip the lowest section near the nape. Sub-divide this horizontal section into smaller sections about 1-2 inches wide or less, depending on the thickness of your hair.
- Secure the unused sections with clips to keep them out of the way.
-
Application Tip:
- Apply the keratin treatment to one small section at a time, starting from the roots and moving to the ends. After application, comb through the section with a fine-tooth comb to ensure even distribution of the product.
-
Continue Sectioning and Applying:
- Move up to the next horizontal section by unclipping and sub-dividing it as before. Apply the treatment to these smaller sections in the same manner.
- Repeat this process until all sections of your hair have been treated.
-
Final Checks:
- Once all sections have been treated, do a quick overall comb-through to catch any spots that might have been missed or where the product might be uneven.
After Application
- Heat Sealing: After applying the keratin treatment to all sections, use a flat iron to seal the keratin into your hair. This step is vital as it activates the keratin and helps it bond with your hair fibers.
- Post-Treatment Care: Avoid washing your hair for at least 48 hours to allow the keratin to set. Use sulfate-free shampoos and conditioners to maintain the treatment.
Conclusion
Sectioning is a fundamental step in the application of a keratin treatment at home. By following these detailed instructions, you can ensure that your Kera Mane Keratin Hair Treatment is applied evenly and effectively, leading to professional-quality results. Proper sectioning not only enhances the treatment's effectiveness but also ensures that your hair remains healthy and beautifully smooth for months to come.


