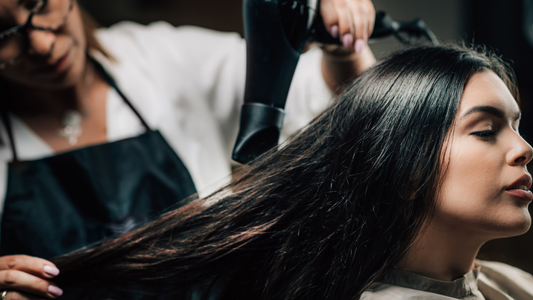
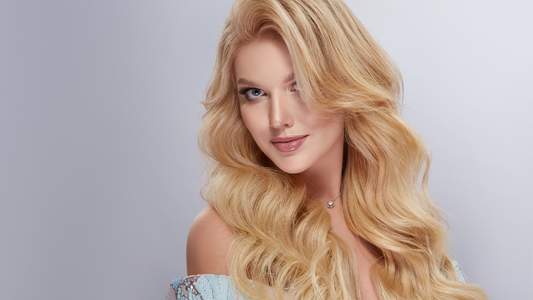
Applying a keratin treatment at home can give you salon-quality results, and with a trusted kit like Kera Mane Keratin Hair Treatment, the process is straightforward. By following each step carefully, you can enjoy smooth, frizz-free hair without leaving your house. In this guide, we’ll walk you through the complete application process, ensuring you have everything you need to get the best possible results.
Why Choose a Home Keratin Treatment?
Home keratin treatments offer a convenient and cost-effective way to transform your hair. DIY keratin kits like Kera Mane provide high-quality results similar to a salon experience, and they’re specially formulated for easy application. By following each step precisely, you’ll be able to achieve frizz control, enhanced shine, and manageability for months to come.
Step-by-Step Application Process for Kera Mane Keratin Treatment
Follow these detailed steps to make the most of your keratin treatment, from preparing your hair to aftercare tips that will keep your hair looking sleek and beautiful.
Step 1: Prepare Your Workspace and Tools
Before you begin, set up your workspace to ensure a smooth application process. Here’s what you’ll need:
- Kera Mane Keratin Treatment Kit (includes clarifying shampoo, keratin solution, and hydrating mask)
- Gloves (to protect hands during application)
- Fine-tooth comb (for even product distribution)
- Clips (for sectioning hair)
- Flat iron (with adjustable temperature settings)
- Blow dryer
- Towel or cape (to protect clothing)
By having all your tools ready, you can work efficiently and avoid interruptions during the treatment.
Step 2: Start with a Clarifying Shampoo
The process begins with washing your hair with a clarifying shampoo. This removes any buildup from products, oils, and impurities that could interfere with the keratin bonding process. Proper cleansing ensures that the keratin can fully absorb into your hair.
- Application Tip: Shampoo your hair twice to ensure it’s completely clean, but avoid using conditioner. After washing, gently towel-dry until hair is damp, not wet.
Step 3: Section Your Hair
Sectioning is crucial to ensure even application of the keratin treatment, especially if you have thick or long hair. Divide your hair into 4–6 sections, depending on your hair’s thickness, and secure each section with a clip.
- Sectioning Tip: Use smaller sections for thicker hair, allowing you to work more carefully and ensure each strand is coated evenly.
Step 4: Apply the Keratin Treatment
Now it’s time to apply the keratin solution. Shake the bottle well, then pour a small amount into a bowl or apply directly from the bottle. Working section by section, use gloves to apply the keratin treatment from roots to ends, ensuring each strand is thoroughly covered.
- Application Tip: Apply the keratin sparingly, as using too much product can weigh down the hair. Use a fine-tooth comb to distribute the solution evenly and remove any excess.
Step 5: Let the Product Set
After applying the keratin treatment to all sections, allow it to set. The recommended setting time can vary depending on the product, but with Kera Mane, let the treatment sit for 20–30 minutes to penetrate deeply.
- Setting Tip: During this time, avoid touching or adjusting your hair to allow the keratin to bond properly.
Step 6: Blow-Dry Your Hair
Once the treatment has set, it’s time to blow-dry your hair. Use a blow dryer on medium heat, carefully drying each section until fully dry. This step preps your hair for the flat ironing process, sealing in the keratin.
- Blow-Dry Tip: Use a round brush to smooth the hair as you dry, which helps to lock in the keratin and provides a sleek finish.
Step 7: Seal the Treatment with a Flat Iron
This is the step where the magic happens! Using a flat iron, you’ll seal the keratin into your hair. Set the flat iron to the temperature recommended in the instructions (typically between 350°F and 450°F, depending on your hair type).
-
Application Tips by Hair Type:
- Fine or Color-Treated Hair: Use a lower temperature (350°F) to prevent potential damage.
- Thick or Coarse Hair: Set the flat iron to a higher temperature (400–450°F) for effective bonding.
Take each section and run the flat iron slowly from roots to ends. Pass over each section 5–7 times, which locks in the keratin and smooths the hair cuticle.
- Flat Iron Tip: Work slowly and don’t rush. Repeated passes with the flat iron ensure each strand absorbs the treatment fully, creating a sleek, frizz-free finish.
Step 8: Use the Hydrating Mask
After the waiting period, use the hydrating mask provided in the Kera Mane kit to add moisture and shine. This mask restores any lost hydration during the process, sealing in softness and improving the overall look and feel of your treated hair.
- Mask Tip: Apply the mask to damp hair after your first wash post-treatment. Leave it on for 5–10 minutes, then rinse thoroughly with cool water to close the cuticle and lock in shine.
Aftercare Tips to Prolong Your Keratin Treatment
Proper aftercare is essential to maintain the smooth, sleek look of your keratin treatment. Follow these tips to keep your hair looking beautiful for months:
-
Use Sulfate-Free Products: Sulfates strip keratin from the hair, so switch to sulfate-free shampoos and conditioners to extend the life of your treatment.
-
Avoid Frequent Washing: Washing your hair too often can reduce the treatment’s longevity. Aim to wash every 2–3 days, and use dry shampoo as needed to keep hair fresh.
-
Limit Heat Styling: Heat can cause dryness, so use heat styling tools sparingly. If you do style with heat, apply a heat protectant to shield your hair.
-
Sleep on a Silk Pillowcase: Silk reduces friction, helping your hair stay smooth overnight. Cotton pillowcases can cause tangling and frizz, so investing in silk is worth it.
-
Stay Away from Chlorine and Salt Water: Chlorine and salt can weaken the keratin treatment. Use a swimming cap or rinse hair immediately after swimming to minimize exposure.
Frequently Asked Questions About Home Keratin Treatment Applications
Q: How long will the results of a DIY keratin treatment last?
A: With proper care, a DIY keratin treatment like Kera Mane can last up to 3 months. Following aftercare tips, especially avoiding sulfates, helps extend results.
Q: Can I color my hair after applying a keratin treatment?
A: It’s best to color hair before your keratin treatment. If you need to color after, wait at least 2 weeks to avoid affecting the keratin.
Q: Is the flat iron step essential?
A: Yes, flat ironing is crucial for sealing the keratin into the hair. Without it, the treatment won’t bond fully, reducing effectiveness.
Why Kera Mane Is the Perfect Choice for At-Home Keratin Treatments
Kera Mane Keratin Hair Treatment is designed for easy application, delivering salon-quality results at home. Here’s what makes Kera Mane stand out:
- Formaldehyde-Free Formula: Safe and gentle for all hair types, Kera Mane provides a smooth, frizz-free finish without harsh chemicals.
- Complete Kit: Kera Mane includes everything you need for a full keratin treatment, from clarifying shampoo to a nourishing mask, ensuring every step is seamless.
- Long-Lasting Results: With up to 4 months of smooth, manageable hair, Kera Mane offers an effective solution that’s both convenient and affordable.
Conclusion: Enjoy Salon-Quality Hair at Home with a DIY Keratin Treatment
With Kera Mane Keratin Hair Treatment, achieving sleek, beautiful hair is simpler than ever. By following each step carefully, you can enjoy long-lasting, frizz-free results that enhance your hair’s natural shine and manageability. Embrace the confidence of smooth, salon-quality hair, all from the comfort of your own home.


